

Growing Garlic

Contributed by Jolene Ottosen for the Chaparral Green Thumbs
One of my favourite things to grow in the garden is garlic. I know garlic can be purchased cheaply, but the taste of locally grown garlic doesn’t compare, and it can be expensive if you can even find it. Garlic is also very low maintenance and easy to grow, and when you grow your own garlic, you also get garlic scapes, which may or may not be the best part!
Over the last few years, I have been planting the bulk of my bed with garlic as it worked with my busy schedule. Unfortunately, due to extreme vandalism one year and winter kill another, I had two very disappointing years. However, I was not deterred and tempted fate by planting 100 bulbs once again last fall. This time, I am happy to report that this August I harvested at least 75 large bulbs. This gives me more than enough garlic to store and use over the winter, as well as enough to plant for next year.
For those of you who would like to try growing garlic, here is how I grow and store my crop.
Types
There are two main types of garlic, softneck and hardneck. The neck is the stalk that grows above the ground, and as you can imagine, softneck has a pliable stalk, which can be braided, while hardnecks are harder and more woody. I grow a hardneck variety, Russian Red, because hardneck varieties seem better able to handle our cold winters, and I have heard that red or purple varieties store the best. Over the years, I have had great luck storing them and share my storage tips below.
Be careful when sourcing your bulbs. Bulbs from a grocery store may have been treated with a growth regulator and might not grow. It is better to either get them from a reputable garden supplier, or straight from a gardener. Also, make sure your bulbs are still somewhat plump and not too dry.
Growing
Garlic should be planted in the fall before the ground freezes completely, late October or early November, depending on the year. We want to give the bulbs just enough time to get established, but not planted so early that shoots begin to develop and freeze over the winter.
First, separate the bulbs into individual cloves, leaving the protective membrane around each bulb. Garlic should be planted in loose, well-drained soil with enough organic matter to keep the soil from crusting too much. While garlic likes consistent moisture, it won’t grow well if it is too wet.
Plant the individual bulbs upright, at least four to eight inches apart, leaving enough room for the bulbs to grow to full size. I will admit that I am often guilty of crowding mine a bit! I have read that there should be at least one to three inches of soil above each clove, but I usually just poke them down until I reach my first knuckle, and that tends to work. If it is quite dry, I will water the cloves in but admit that I don’t always do that. Some people advocate returning a few weeks after planting, once the temperature drops to around -5°C, and covering the ground with a thin layer of mulch or straw to help insulate the cloves over winter. I generally don’t do this as I get busy and forget, but I have generally been lucky. However, I have had horrible harvests some years, and this could have been a contributing factor. On the other hand, I have also heard that mulching too much can be problematic, as it may prevent the garlic from freezing, which is an important part of the growing cycle for the varieties available here. I think the key here is balance and mulching at least a little is likely to be beneficial.
Harvesting
Once the bottom few leaves of the plant have started to turn brown, garlic is ready to harvest. This often happens in early to mid-August for me. Choose a day when the ground isn’t too wet and dig around the bulbs so that you can gently pull them up, keeping the protective layers around the bulb intact. If my garlic isn’t too dirty, I just do my best to brush off any dirt, as this helps to protect them for storage, but if it is a wet year and there is a lot of dirt, I will give them a quick and gentle wash.
Storage
In order to store your garlic properly, it needs to cure, which means the membrane around the bulb dries and hardens, protecting the moisture of the bulb within. Once you have removed as much dirt as possible, the garlic needs to be left in a cool and dry location, preferably somewhere that is also a bit darker, for a few weeks. As long as it isn’t too hot, my garage works well. Some sources suggest hanging them in bunches of ten to fifteen, but I find that just laying the garlic out in a single layer on top of newspaper or cardboard works too, as long as you turn them every few days. Check the bulbs often because, while you want them completely dry, you don’t want them to get too dry and start to wither.
Once the bulbs are dry, if you have softneck varieties you can braid the stalks, and if you have hardneck, you can just cut the stem about 1 cm above the bulb. I have read that softneck varieties can be stored for up to twelve months in a dark, cool, and dry location, and hardneck for up to four months. My hardneck Russian Red has stored well for twelve months in a cloth bag, hanging from a shelf in a cold storage room in my basement. I bought a garlic bag from a kitchen store, a double-layered cloth drawstring bag with black lining, but I imagine you could easily make your own. The key is storing them in a way that allows for enough air circulation to keep them dry, but not so much that it dries them out, and keeping out the light, which could encourage them to sprout.
Scapes (The Best Part of Growing Your Own Garlic)
During the growing season, hardneck garlic will produce scapes which, if left too long, will bloom. You do not want to leave them long enough to bloom as the energy the plant uses to create the blooms on top is better spent on producing a larger bulb below. Also, garlic scapes are delicious, so why leave them to wither on the plant and miss out on all that goodness? Personally, while I love growing my own garlic, I think that scapes are the best part and the real reason why I grow it. Some people put them in soups, salads, or my favourite, pesto. I make a big batch and freeze it in small quantities, allowing my family to have a taste of summer all year long.
If you are interested in more information about our garden, email us at [email protected].
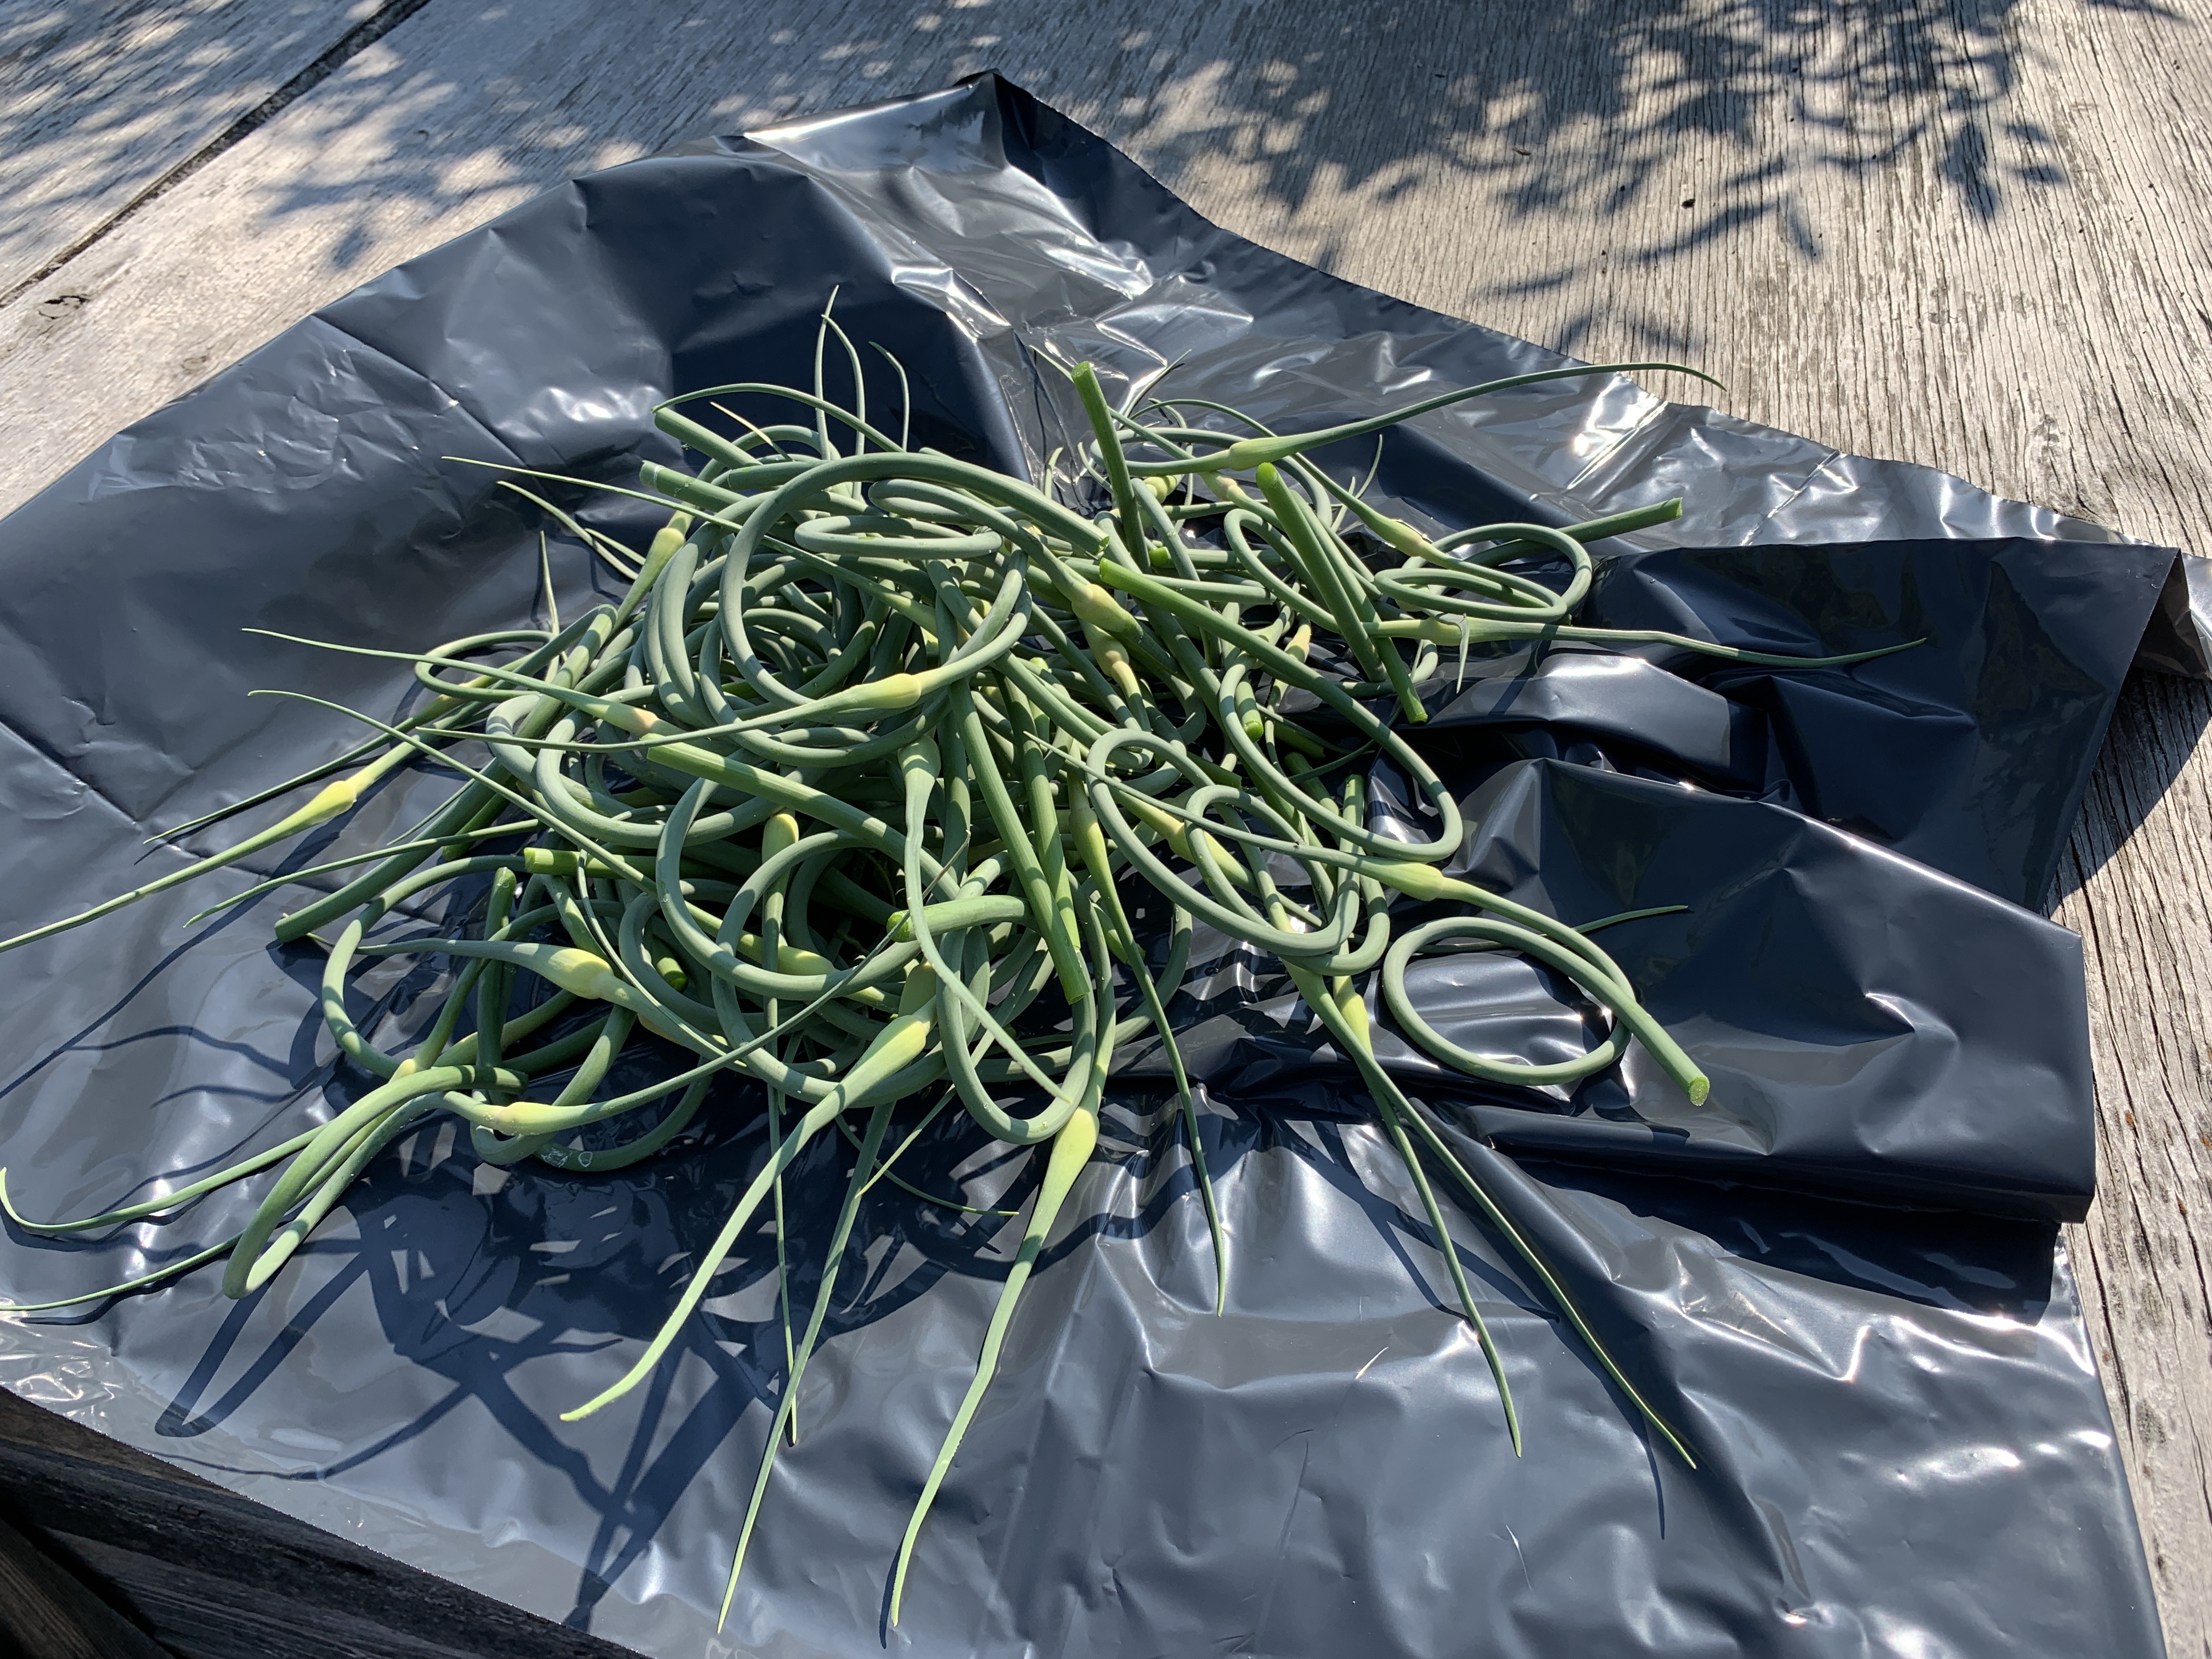
Garlic Scapes
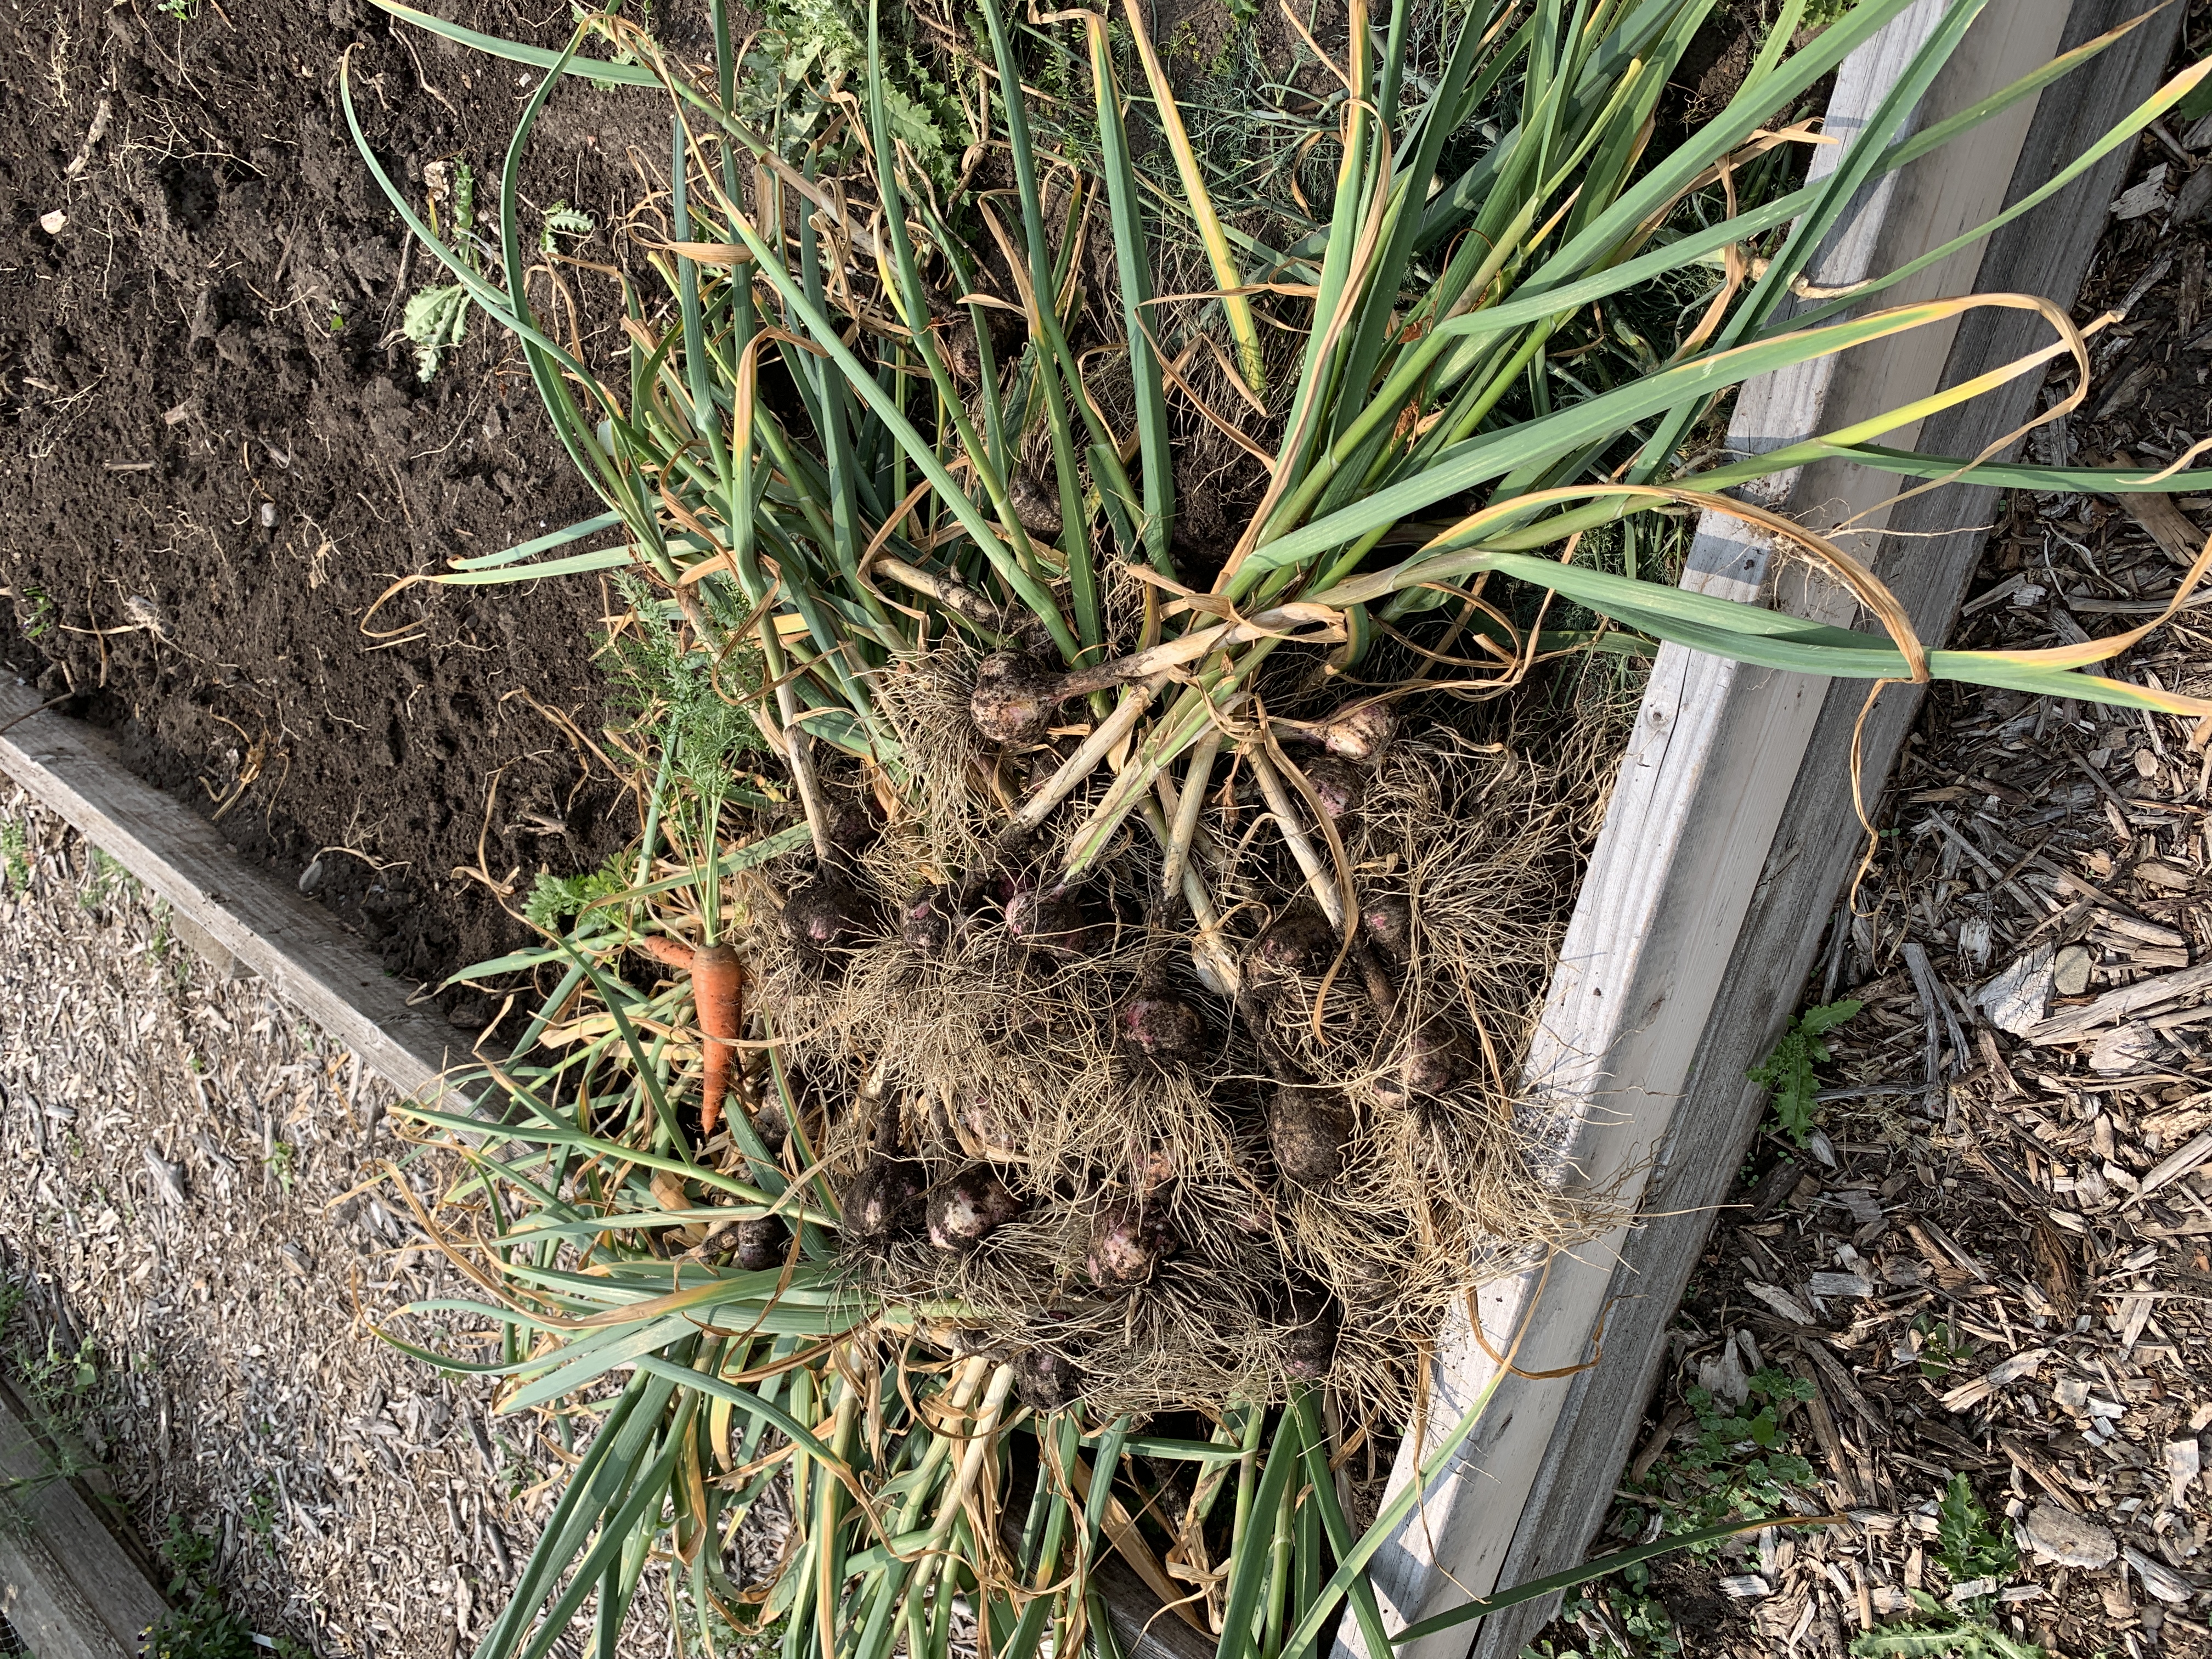
Harvesting
Click here to the Chaparral Community News home page for the latest Chaparral community updates.


